 I have the opportunity of teaching an Illustration class on the college level and enjoy creating artwork and spurring students on in their creativity. My latest class project to inspire them on was to create an iPhone 5c using simple Illustrator tools. We are early on in the semester so I couldn’t get too fancy on them. I thought I would share the process for others that might benefit as well.
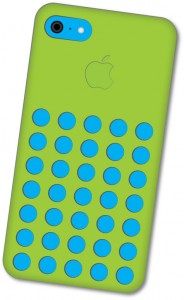
 The first step was to create a rounded rectangle for the body of the Phone. The color used here will actually be the case cover since the phone itself will show through the holes in the case.
The second step is to create the holes for the silicon skin. The gray stroke around the circle uses a variable width to give it some dimension and shadowing. 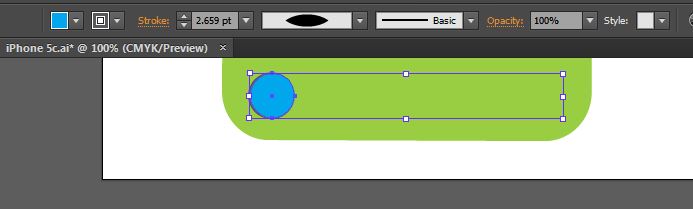
The third step is to duplicate the holes and then distribute them evenly using the align and distribute tools that are available in the top bar when multiple objects are selected. 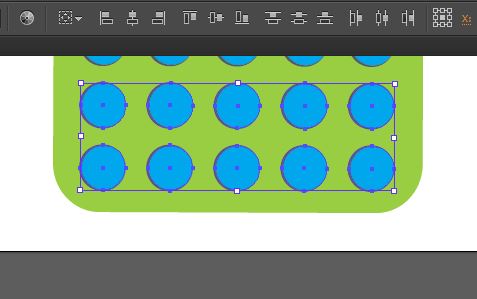
The fourth step is is camera. This was created by using the rounded rectangle tool to create the pill shaped cutout and then a series of circles to create the camera lens, microphone, and flash. 
The next stage was the most difficult of the whole project – the Apple logo. This is created using the shape builder tool and the Direct Selection (white arrow) tool to manipulate the points into the correct shape. Logo step one was to create an ellipse in the approximate shape of half of the apple. 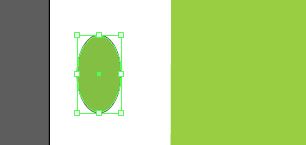
Logo step two was to duplicate the shape, position it properly, select both shapes and then use the shape builder tool to combine the shapes together by dragging across the shapes and creating one shape of the two. 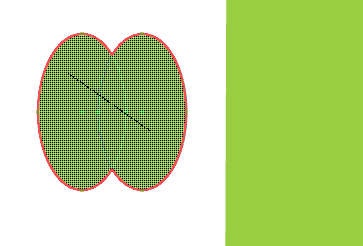
Logo step three is to convert the inner points of the combine shape into smooth points so that it would begin to look like the apple shape.
Logo step four was to manipulate the points with the white arrow tool to form the apple shape. Compare the image above with the one below to see the position of the anchor points. There was no need to use the Bezier handle to adjust the curves. 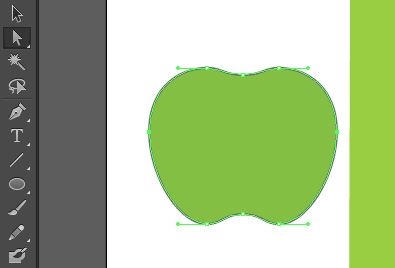
Logo step five was to create the bite out of the right side. This was done using the apple shape along with a circle and creating the bite with the shape builder tool. Select both shapes and switch to the shape builder tool. By holding down the alt/option key while dragging across the circle the bite out is created. 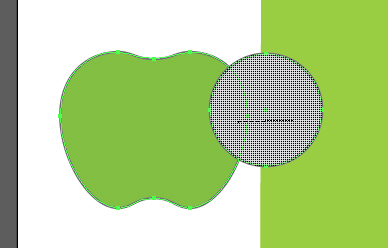
The final step of the logo was the leaf, which was created by using the ellipse tool and converting the top and bottom points of the ellipse into corner points. I adjusted the width of the leaf to make it a bit thinner. 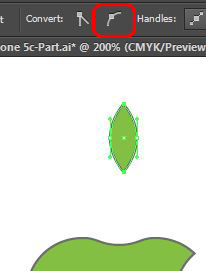 I also applied a variable width to the stroke of the logo in order to give it some dimension.
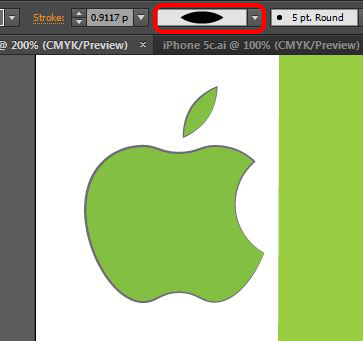
After positioning the logo in the appropriate location, the final steps to the phone was to apply a drop shadow and an inner glow. The inner glow blending mode was set to normal with black chosen as the color and the opacity and distance was set visually. 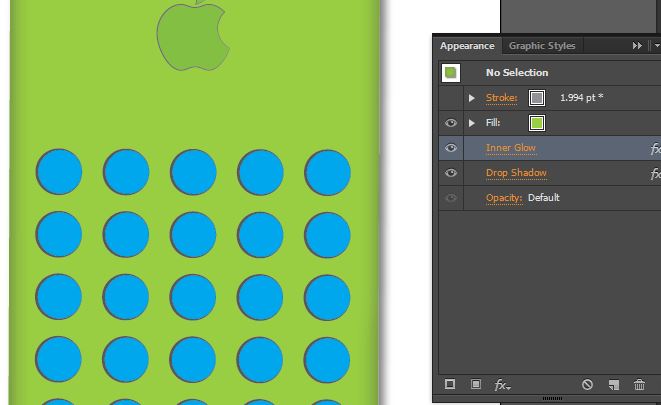
The final artwork was rotated slightly to enhance the look. 